
WooCommerce

What is WooCommerce?
WooCommerce is an ecommerce plugin for WordPress that allows users to convert their websites into online selling platforms. It is a flexible and easy-to-use solution that provides tools to manage products, process payments, and customize the appearance of online stores.
What is OrkestaPay for WooCommerce?
OrkestaPay Payments Orchestration for WooCommerce is a plugin that allows you to effortlessly manage and optimize multiple payment gateways, ensuring smooth transactions for your customers.
Key features:
- Multiple gateway integration
- Dynamic routing
- Failover protection
- Smart retry logic
- Payment analytics dashboard
- Fraud prevention
- Customizable user interface
- Automatic currency conversion
Business requirements
To integrate the OrkestaPay plugin, it is necessary to follow these steps:
1 - Register an account
You must have a merchant account in OrkestaPay to carry out the integration.
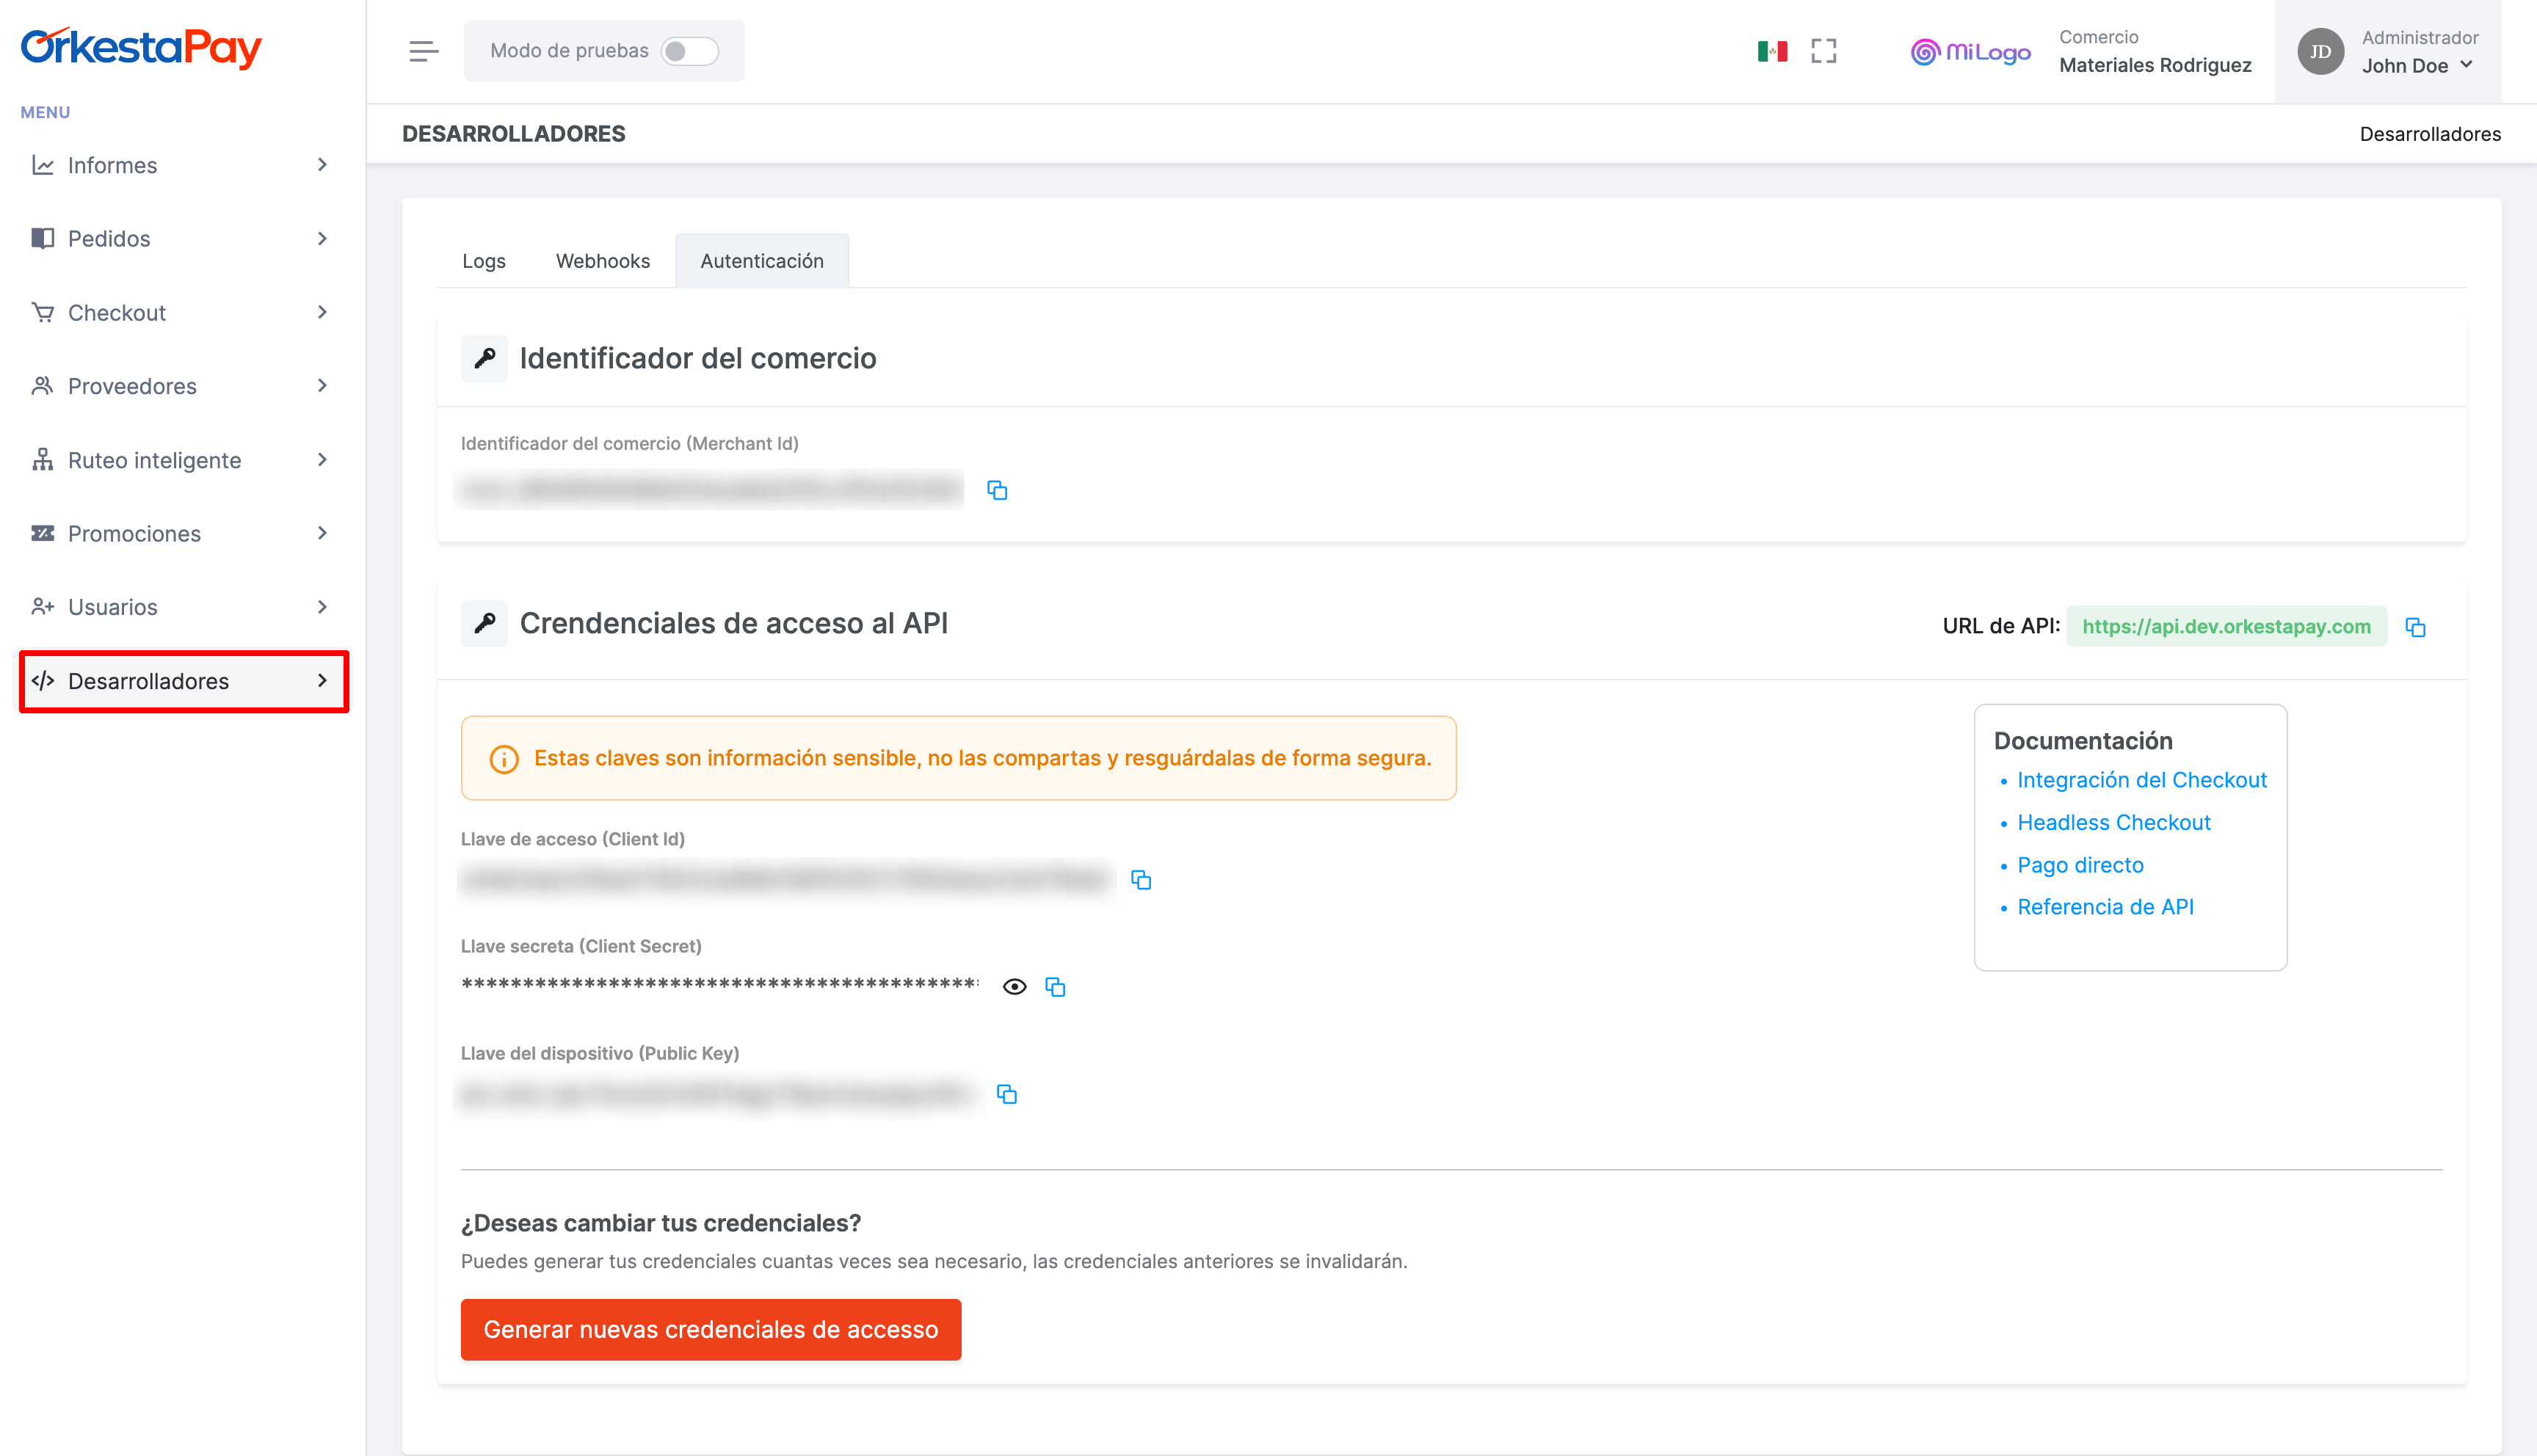
2 - Copy integration credentials
Once you have registered your account, go to the Developers section found as an option in the side menu.
You must copy and save the credentials shown on screen, as you will need to enter them in the plugin configuration screen later.
Technical requirements
The server where your WooCommerce store is hosted must have the following characteristics:
- PHP 7.4 or higher
- MySQL 5.7 or higher, MariaDB 10.3 or higher
- Apache or Nginx with mod_rewrite module enabled
- PHP cURL extension installed
- HTTPS support
- WordPress 5.9 or higher
- WooCommerce 6.0.0 or higher
Installation
- In the WordPress administration panel, go to the Plugins > Add new section.
- Enter "orkestapay" in the plugin search box, which will display the "OrkestaPay for WooCommerce" plugin as a result.
- Proceed to install and activate the plugin.
Configuration
- In the WordPress administration panel, go to the Plugins > Installed plugins section, locate the "OrkestaPay for WooCommerce" plugin and click "Settings".
- To enable the plugin, the following fields must be filled in for proper operation:
- Merchant ID
- Client ID
- Client Secret
- Device Key
- Webhook Signing Secret
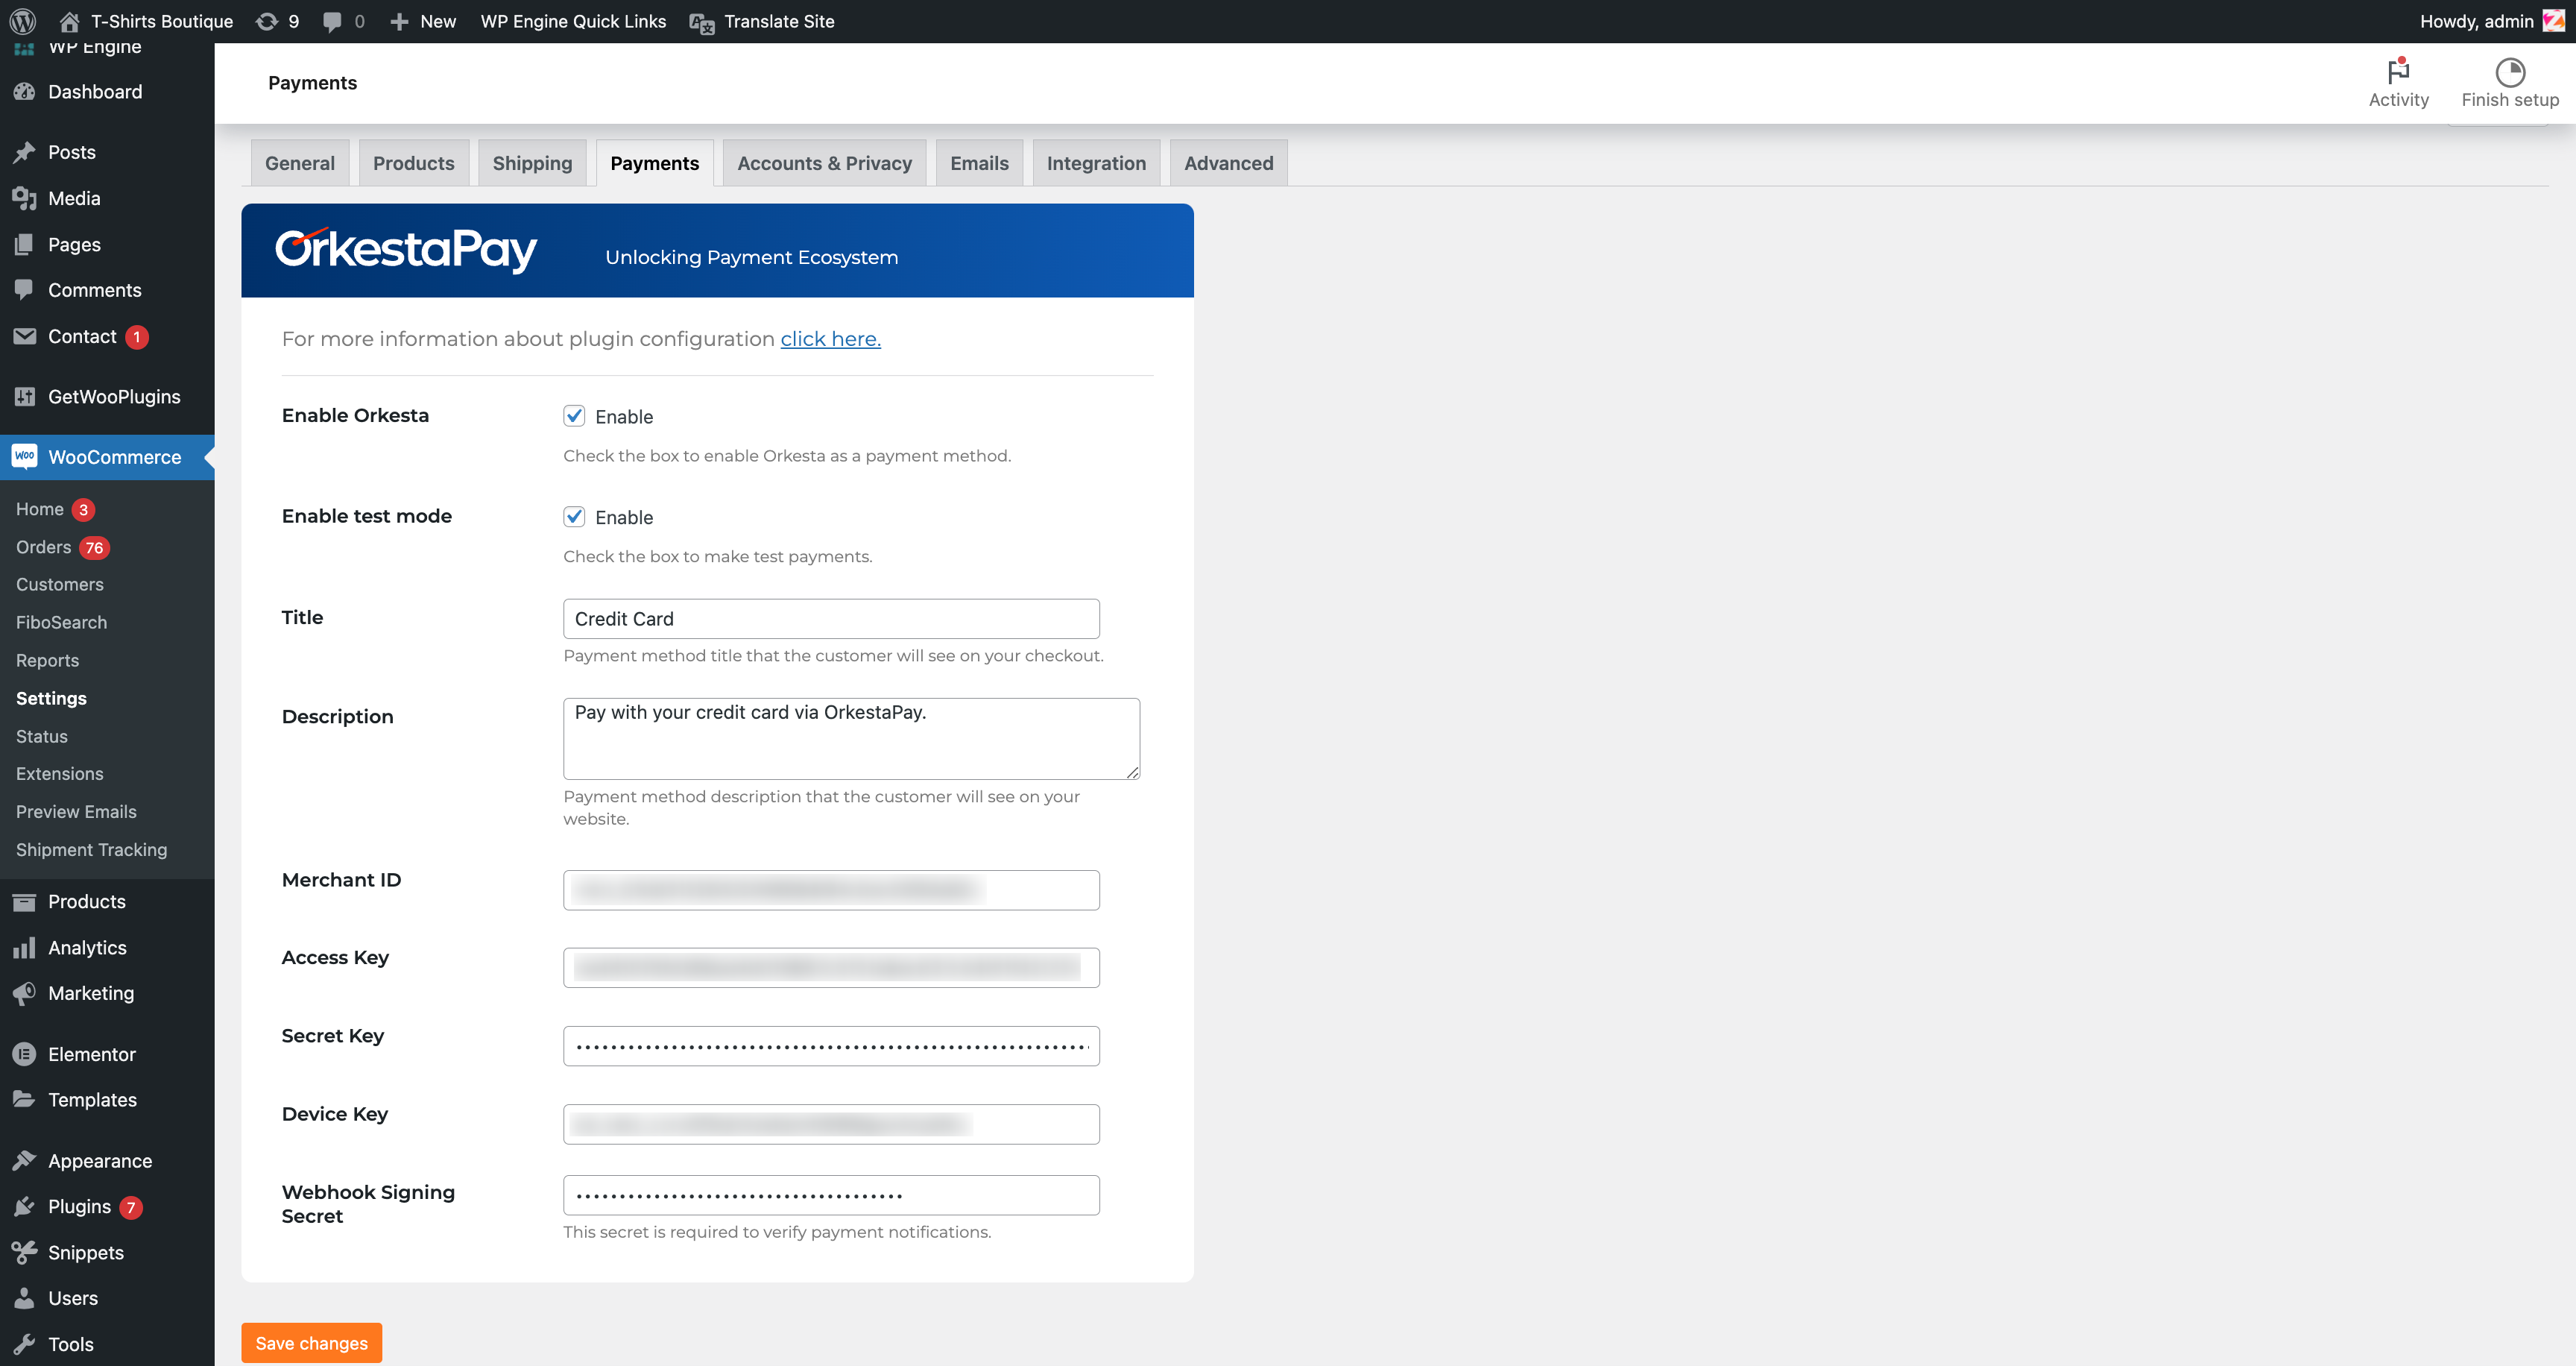
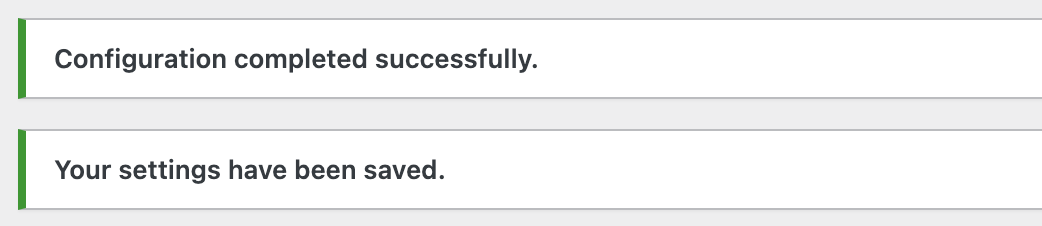
Once the data has been entered, click the "Save changes" button. After doing so, a notification will be displayed indicating that the configuration has been completed successfully and the settings have been saved.
NOTE: With test mode enabled, you can perform purchase flows with test cards to confirm that the behavior is correct.